Installing a new roof on your home is a significant undertaking that can dramatically improve your property’s aesthetics, value, and energy efficiency. However, many homeowners aren’t sure what the process entails. To help you understand what to expect, here is a breakdown of the steps involved in a residential roof installation.
- Initial Assessment
Before anything else, a professional roofer will conduct an initial assessment of your home’s roof. This process typically involves inspecting the existing roof to identify any issues and measuring the roof’s size to estimate the necessary materials.
- Proposal and Contract Signing
Once the initial assessment is complete, the roofer will provide a detailed proposal that includes cost estimates, material details, timeline, and other project specifics. After reviewing and accepting the proposal, you’ll sign a contract to begin the work.
- Material Delivery and Preparation
The roofing company will then arrange for the delivery of the necessary materials to your property. They will also prepare the worksite, which may involve setting up scaffolding, moving any obstacles, and laying protective sheets over your garden or landscaping.
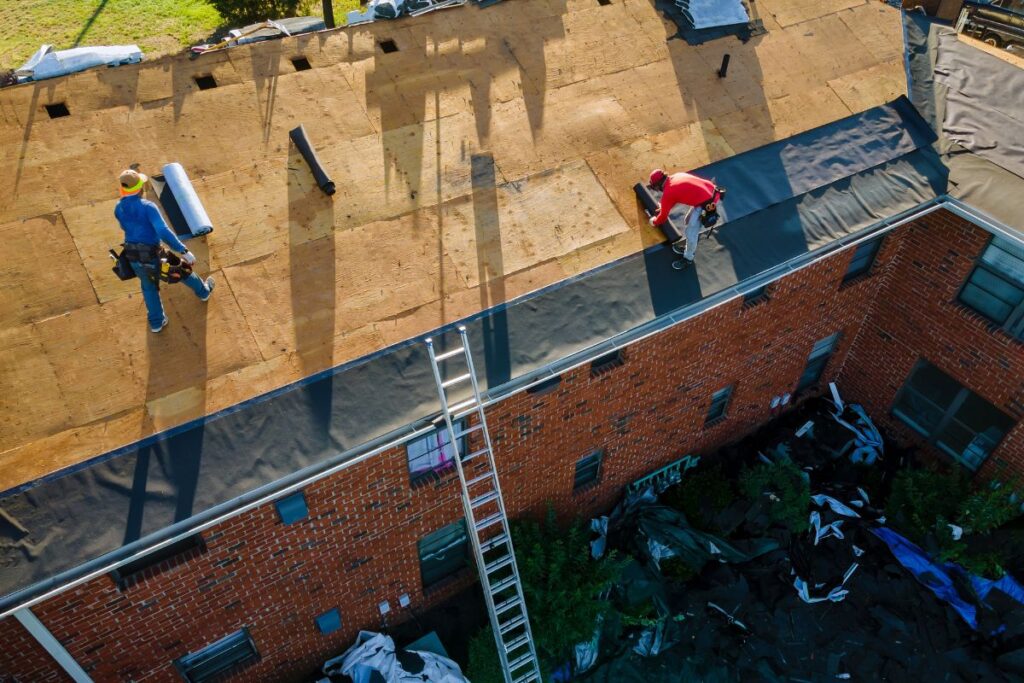
- Removal of the Old Roof
If you’re replacing an existing roof, the first real step in the installation process is to remove the old roofing material. This process can be messy and noisy, but professional roofers will try to minimise disruption as much as possible.
- Inspection of Roof Decking
After removing the old roof, the roofers will inspect the underlying decking or sheathing. They’ll look for signs of damage, such as rot or water damage, and replace any damaged sections to ensure a solid base for your new roof.
- Installation of Underlayment
The next step is to install the underlayment, a water-resistant or waterproof barrier that goes directly onto the roof deck. This layer provides an extra level of protection against rain and wind.
- Installation of Roofing Material
Now it’s time for the new roofing material, whether that’s asphalt shingles, metal panels, or something else. This step requires careful attention to detail to ensure that each piece is properly aligned and securely fastened.
- Installation of Flashing
Roofing professionals will install flashing around any roof penetrations like chimneys, vent pipes, or skylights, and in valleys where two roof planes meet. Flashing is a critical component that helps prevent water leaks in these vulnerable areas.
- Clean Up and Final Inspection
Once the new roof is installed, the crew will clean up the worksite, removing any leftover materials and debris. Finally, the project leader will conduct a final inspection to ensure the new roof meets all quality standards and your expectations.
A new residential roof installation is a complex process that requires professional skills and expertise. While it may seem daunting, a reputable roofing company will guide you through each step and keep you informed along the way. By understanding what to expect, you’ll be better prepared to make decisions and ensure a successful project.