If you’ve made the decision to resurface your roof, it’s crucial to prepare properly to ensure the job is done correctly and that your new surface lasts as long as possible. Resurfacing is a substantial project that involves careful planning and execution. This comprehensive guide will walk you through the necessary steps to prepare your roof for resurfacing.
Step 1: Perform a thorough roof inspection
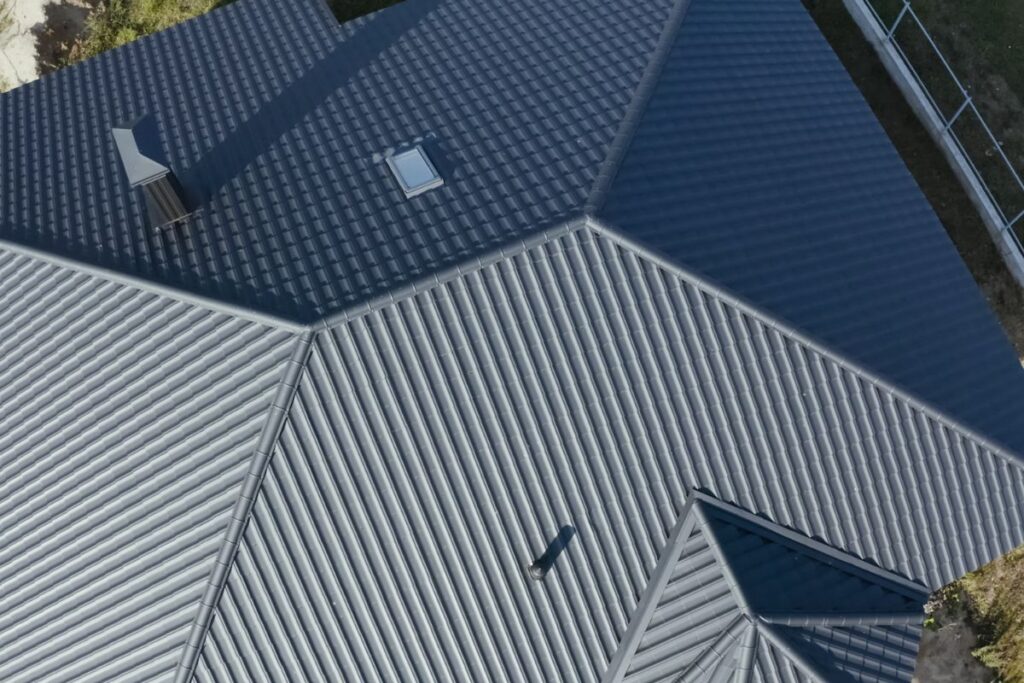
Before any resurfacing can take place, your roof must be thoroughly inspected to identify any existing problems. Look for cracks, leaks, or other damages that could hinder the resurfacing process. For a comprehensive assessment, it’s often wise to hire a professional.
Step 2: Repair any existing damage
If any damage is detected during the inspection, it’s essential to make all necessary repairs before resurfacing. Ignoring underlying issues could lead to more significant problems down the line.
Step 3: Clean the roof surface
Dirt, dust, moss, and other debris on the roof surface can prevent the new coating from adhering properly. Use a pressure washer or soft broom to clean the roof thoroughly.
Step 4: Remove old roof coating
If your roof has a pre-existing coating, it may need to be stripped before applying the new one. You can do this using a roof coating remover or by hiring a professional.
Step 5: Seal joints and seams
To prevent water intrusion, it’s vital to seal all roof joints and seams. This is typically done using a sealant compatible with your new roof coating. Ensure you cover all areas around vents, skylights, and other roof features.
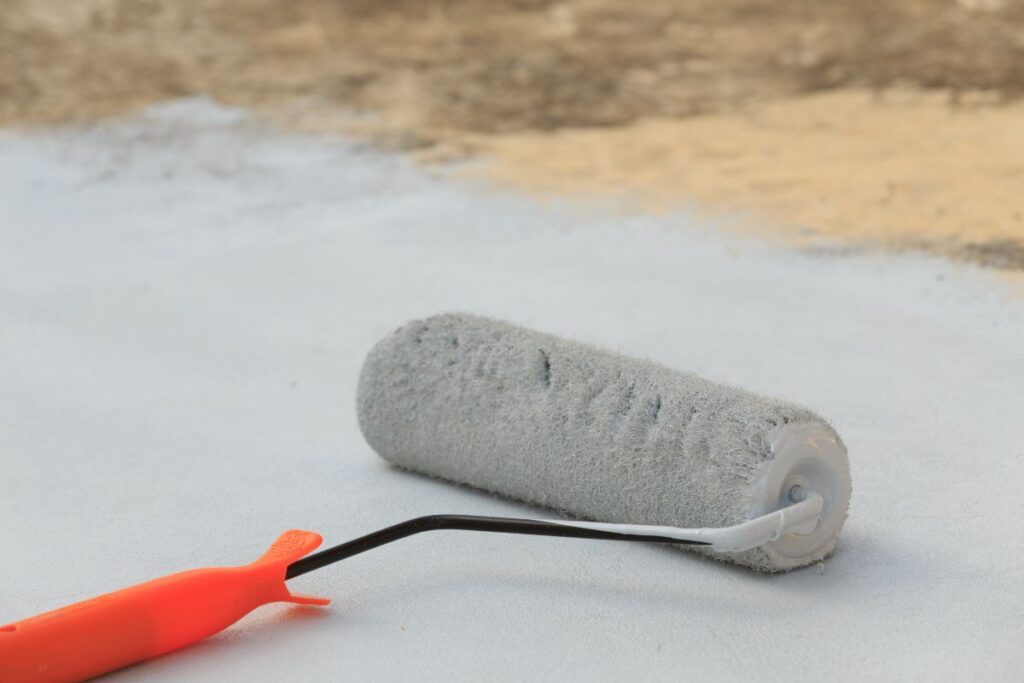
Step 6: Prime the roof surface
Priming the roof prepares the surface for the new coating, improving adhesion and ensuring a more durable finish. Be sure to use a primer that’s compatible with your chosen coating.
Step 7: Check the weather
Resurfacing requires dry conditions, so always check the weather forecast before you start. Avoid starting the job if rain is expected within 24 hours of application.
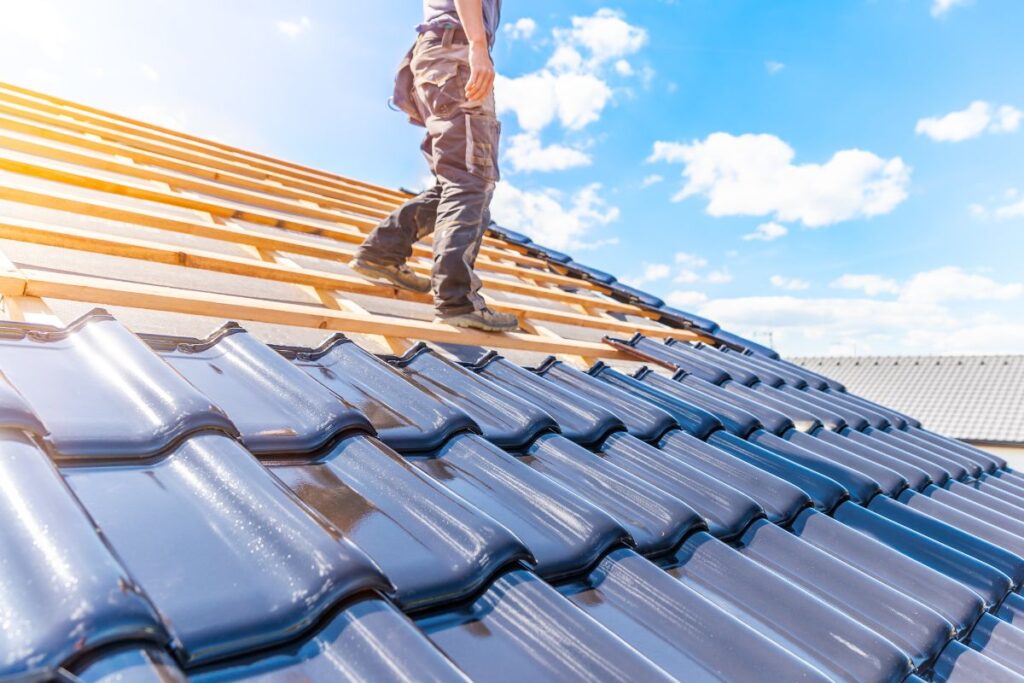
Step 8: Gather your materials and safety gear
Before starting the resurfacing process, ensure you have all the necessary materials and safety gear. This could include the coating, a roller or sprayer for application, protective clothing, safety glasses, and a safety harness.
Step 9: Follow the product instructions
Different coatings have different application requirements. Always follow the manufacturer’s instructions for the best results.
Remember, while it’s possible to do roof resurfacing as a DIY project, it can be risky if not done correctly. If you’re unsure, it’s best to hire a professional roofer to ensure the job is done safely and effectively.