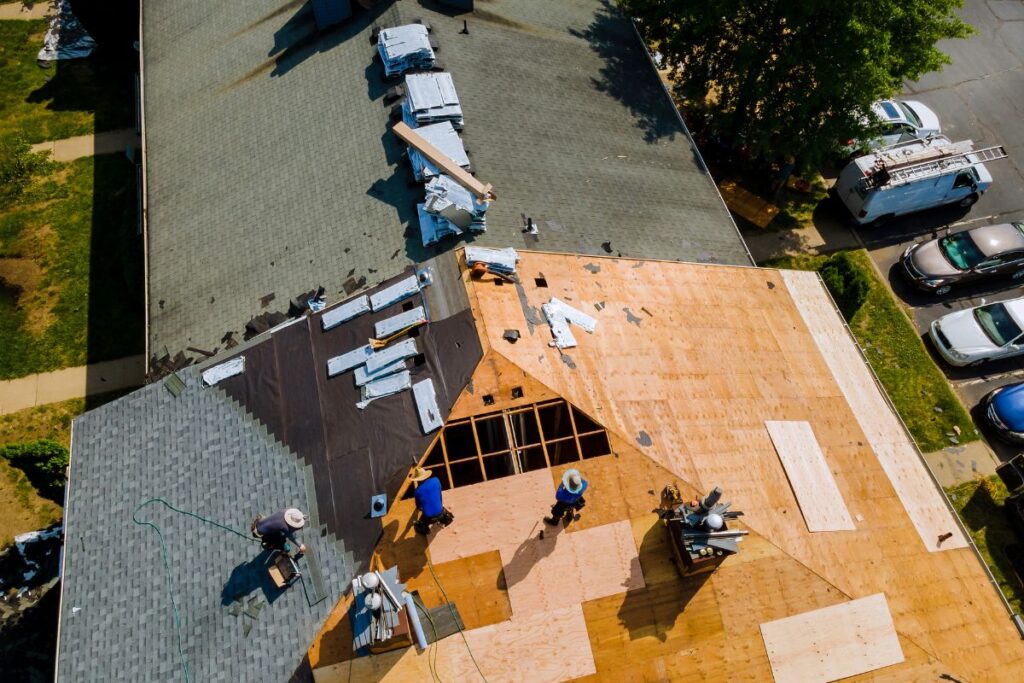
Tackling a shingle replacement project requires more than just grit and determination. It also requires the right tools. Here are the seven essential tools for your DIY shingle replacement project:
- Safety Gear
Before anything else, your safety should be the top priority. Essential safety gear includes sturdy boots with good traction, safety glasses, work gloves, and a roofing safety harness.
- Roofing Shovel or Shingle Remover
This tool is essential for removing old, damaged shingles. It’s designed to get under the shingles and remove them along with the nails.
- Roofing Hammer
A roofing hammer is a multi-purpose tool that is specially designed for roofing projects. One side of the hammer is used for hammering nails, while the other is a hatchet that can be used to cut shingles.
- Utility Knife
A utility knife is a necessary tool for cutting shingles down to the right size or for trimming edges neatly.
- Pry Bar
A pry bar can be helpful in removing nails and lifting up shingles. It’s also useful for separating shingles that are stuck together.
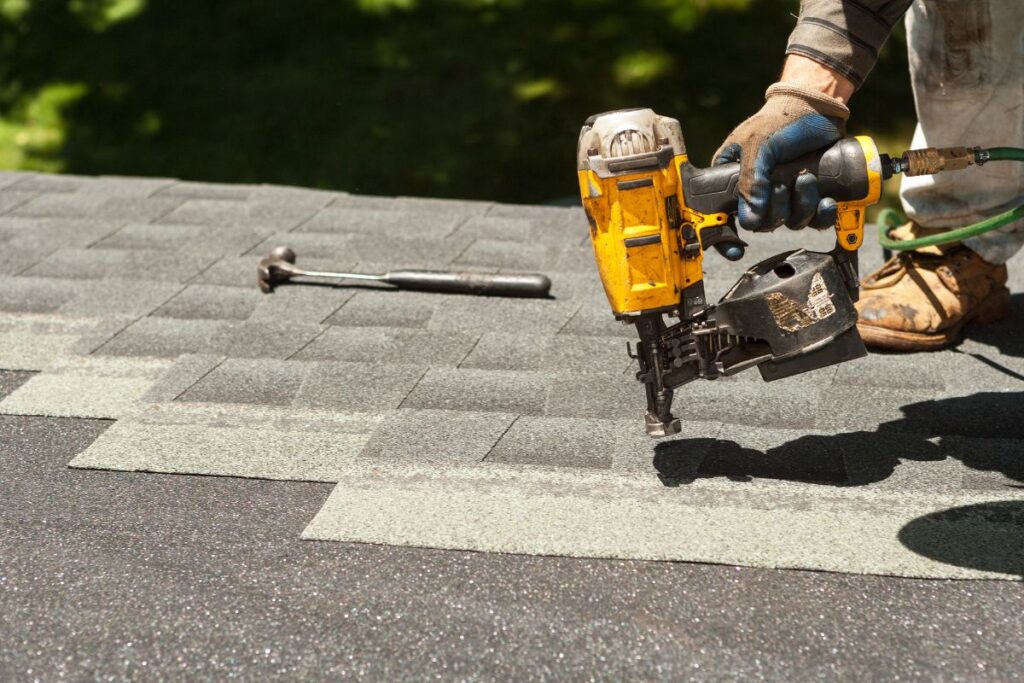
- Roofing Nails and Nail Gun
Roofing nails are specially designed for roofing and are used to secure the shingles. A nail gun, while not always necessary, can make the job go much faster.
- Ladder
A sturdy and reliable ladder is essential to safely access your roof. Choose a ladder that’s tall enough to reach your roof comfortably and is designed for stability.
These tools are your basic essentials for a DIY shingle replacement project. Remember, while DIY projects can be satisfying and cost-effective, shingle replacement is a serious task and not without risks. If you’re unsure or uncomfortable taking on this project, don’t hesitate to call in a professional.