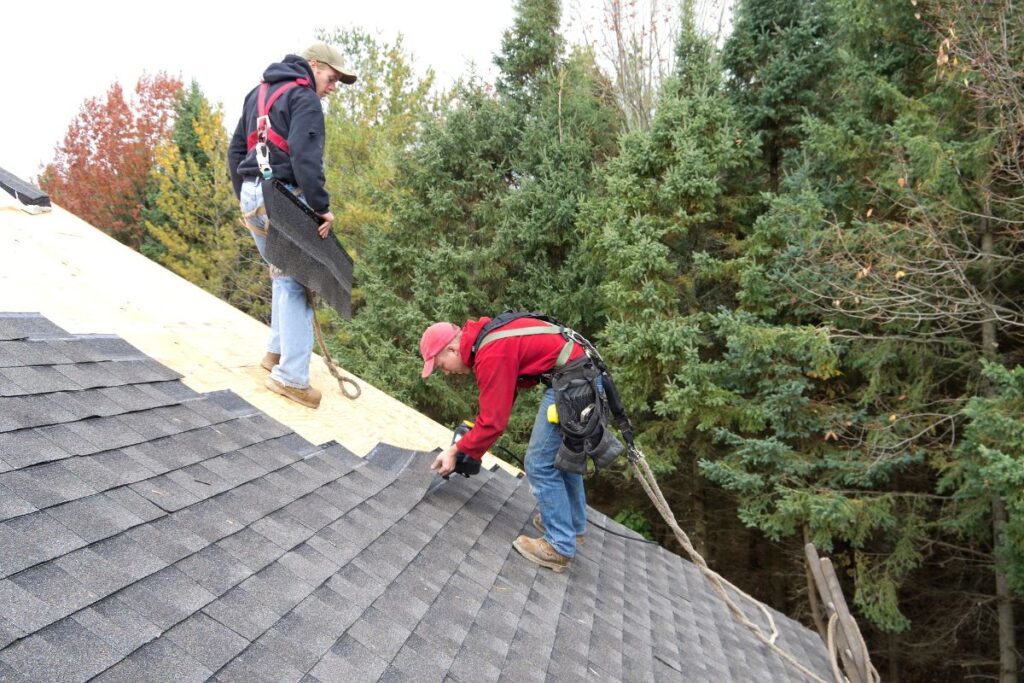
Installing wood shingles properly not only enhances the appearance of your roof but also extends its lifespan. Here are seven best practices to follow:
- Choose Quality Shingles:
Start with top-grade wood shingles. Cedar and redwood are popular choices due to their natural durability and resistance to decay.
- Proper Storage:
Before installation, store the shingles in a dry place to prevent them from absorbing moisture and warping.
- Use a Solid Roof Deck:
Install wood shingles over a well-constructed, clean, and dry roof deck. A strong roof deck supports the shingles and prevents sagging.
- Install Drip Edge and Underlayment:
Start with a drip edge at the eaves, then lay a water-resistant underlayment across the entire roof deck. This adds an extra layer of protection against leaks.
- Spacing and Overlapping:
Proper spacing and overlapping are critical for wood shingles. There should be a 1/8 to 1/4 inch gap between shingles to allow for expansion, and each shingle should overlap the one below it by at least 1.5 inches.
- Use High-Quality Fasteners:
Use stainless steel or hot-dipped galvanized nails that won’t corrode. The nails should penetrate the roof deck fully for secure anchoring.
- Proper Ventilation:
Ensure the roof and attic have adequate ventilation. Good air circulation prevents heat and moisture buildup, which can cause wood shingles to warp or rot.
Remember, working on roofs can be dangerous, and improper installation can lead to problems down the line. If you’re unsure about doing it yourself, consider hiring a professional. At Kiwi Roof Masters, we have a team of experienced roofers who can ensure your solar tiles, wood shingles are installed safely and correctly. Contact us today for your roofing installation needs.