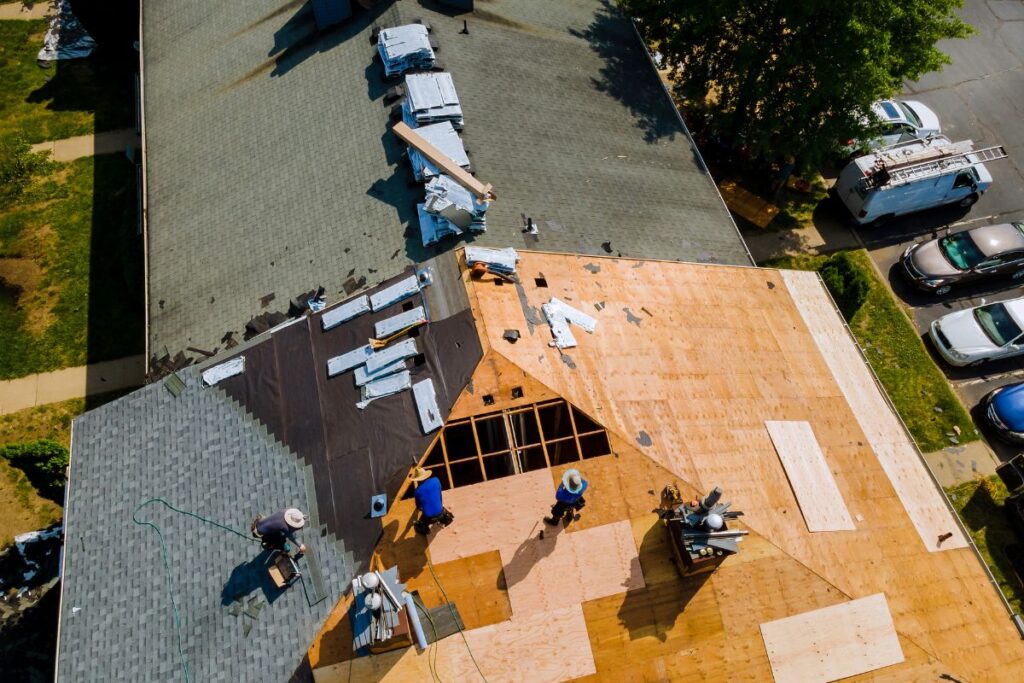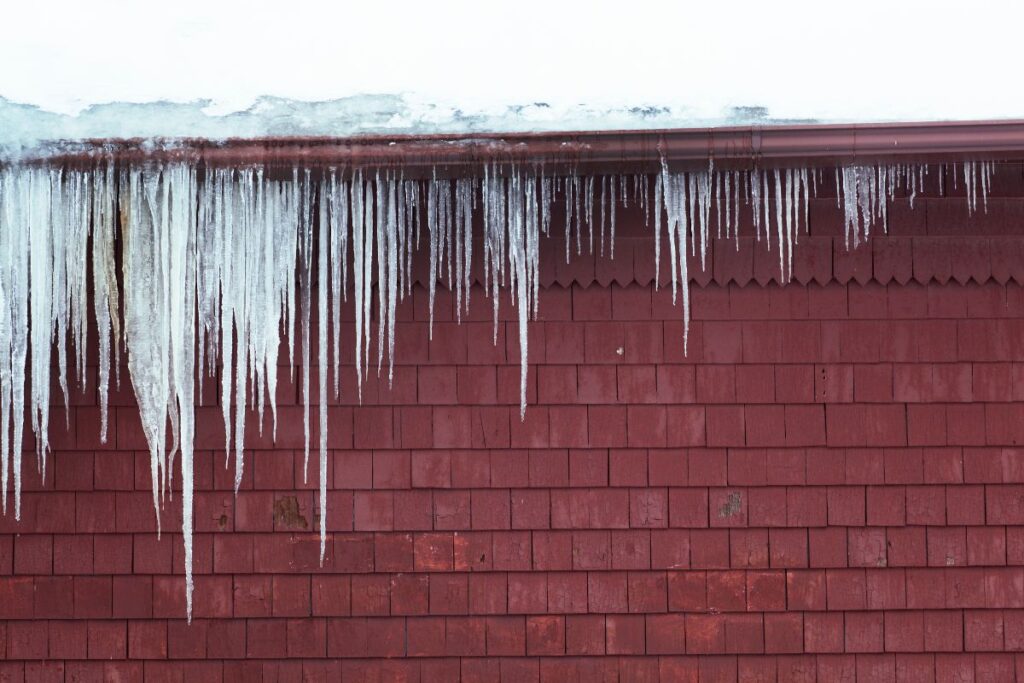
Ice dams can cause significant damage to your roof and home if not addressed promptly. Here are five essential steps to safely removing ice dams from your roof:
- Use a Roof Rake
A roof rake with a long handle can be used to remove snow buildup from the edges of your roof. Start from the edge and work your way up to prevent further damage to the shingles.
- Apply Calcium Chloride
Spread calcium chloride or another ice-melt product onto the ice dam. Avoid rock salt as it can damage your roof and plants. Use a long-handled spreader if the roof is high.
- Create Channels in the Ice
Carefully create channels in the ice dam to allow the trapped water to flow off the roof. But be careful not to damage the shingles underneath.
- Insulate Your Attic
Prevent future ice dams by insulating your attic to keep heat from escaping and melting snow on the roof.
- Call a Professional
If the ice dam is large or the roof is steep or high, it’s safer to call a professional to remove the ice dam.
Remember, dealing with ice dams can be dangerous due to slippery conditions and the potential for falling ice. Always prioritise safety and when in doubt, hire a professional. If you’re in New Zealand and need assistance with ice dams, Kiwi Roof Masters is here to help. Our team of experienced professionals can safely and efficiently handle your roofing/re roofing needs. Contact us today for a free quote.